
There’s a reason some people light fires that roar in five minutes while others nurse smoke for half an hour — and it isn’t luck. Successful fire-lighting is a sequence, and this is it. Master these four steps and you’ll never fight a fire again.
Step 1: The Firelighter
Place one or two natural firelighters at the centre of an empty grate. Natural wood-wool types light with a single match and burn clean — no chemical smell, which matters doubly if you’re cooking. (Alternatives: fire wool sachets or fire gel.)
Step 2: The Kindling Teepee
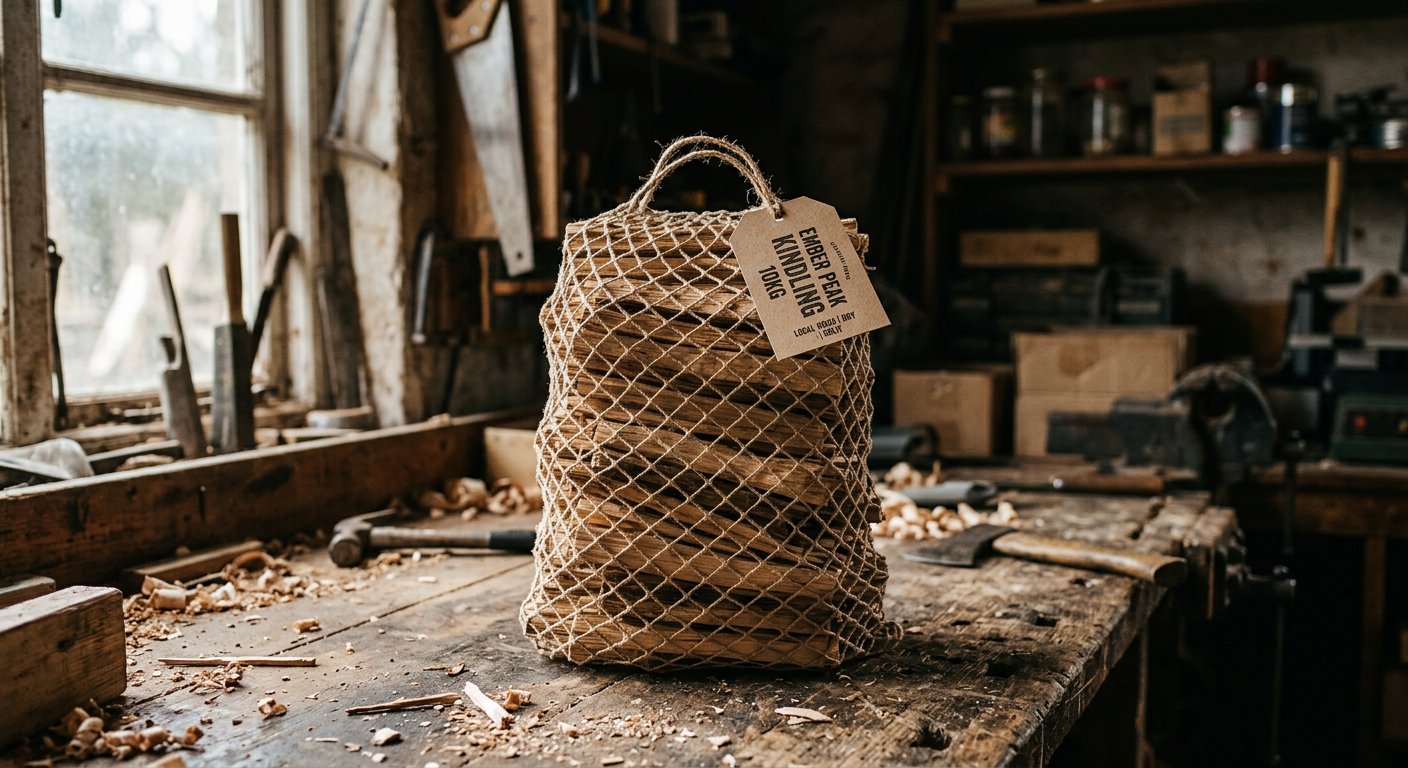
Build a small teepee or log-cabin of dry kindling sticks over the firelighter — thumb-thick at the base, thinner as you go, with visible air gaps between every stick. Air gaps are the whole game: fire is a surface phenomenon, and gaps mean surfaces catching everywhere at once.
Step 3: The Small Wood
Once kindling is blazing (2–4 minutes), add two or three small splits — double split wood is perfect here. Place them leaning into the flame, still leaving gaps. Resist the urge to rush: each stage exists to build the heat that ignites the next.
Step 4: The Logs
Only when small wood is burning with flame licking its full length and the first coals are glowing — typically 5–10 minutes in — add full logs. Two first, positioned with split faces down so flame runs up beneath them. From here the fire manages itself: add a log when the previous one is mostly coaled.
Why Fires Fail
Nearly every failed fire skips a step — logs straight onto kindling, or kindling smothered flat. If yours keeps dying, read the smoke guide (same root causes) and check your wood is genuinely dry. Everything you need for the full sequence arrives in one box with our firewood starter pack. More technique in the guides; quick answers in the FAQs.