
Lighting a pizza oven is a 45–60 minute ritual, and every step has a reason. Follow this sequence and your dome will hit pizza-ready heat — white-hot ceiling, clear flue, floor reading 350–420°C — without the smoky false starts.
Step 1: Dry Fuel, Laid Out
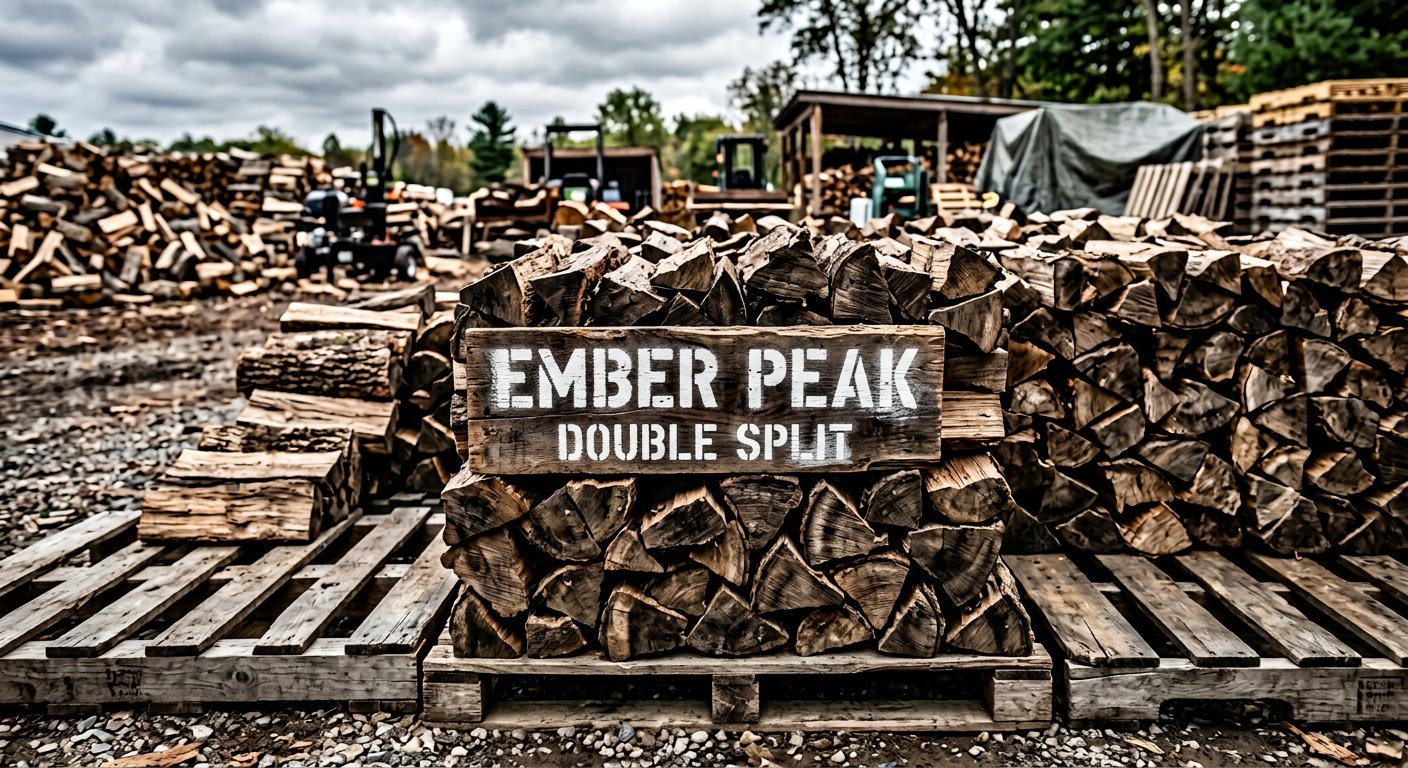
Stage your fuel before striking a match: a natural firelighter (chemical-free, food-safe), a bundle of kindling, a stack of double split hardwood, and — if you like a charcoal base — some lump charcoal. The fuel theory: best wood for pizza ovens.
Step 2: Build Centre-Rear
Place the firelighter toward the centre-rear of the dome, kindling teepee over it, then four to six double split pieces leaned around. Fire positioned here lets flame roll up the dome’s back and across the ceiling — heating the whole oven, not just one side.
Step 3: Feed Steadily to Temperature
Add a piece or two every 5–10 minutes. The cues to watch for: initial white smoke clearing to a nearly invisible flue (moisture burning off — see the smoke guide), then the dome ceiling going from sooty-black to mottled white — the classic “carbon burn-off” that signals you’re approaching baking heat.
Step 4: Build the Coal Bed, Push It Aside
Once the dome whitens, let the fire settle into a generous coal bed and rake it to one side (or the rear). You now cook with flame lapping the ceiling on one side and coals radiating from the other — turning pizzas to face the flame is what leopards the crust.
Step 5: Manage Through the Bake
A pizza takes 60–90 seconds; the oven holds heat for many. Add one small piece whenever flame height drops, and let the floor recover 30 seconds between pizzas. Leftover heat? It’s dinner’s second act — bread, then slow roasts, then dessert. More technique in our guides, fuel in the firewood shop, quick answers in the FAQs.