
Seasoning your own firewood is one of the most satisfying loops in home heating: fell or buy green, split and stack, and twelve months later burn the results. It’s also where most DIY woodpiles go wrong. Here’s the complete method — and the shortcut for the impatient.
Step 1: Split Early
Splitting is drying. A split face loses water many times faster than bark-wrapped rounds, so split everything — before stacking, not before burning. Smaller splits dry faster too; if you run a compact stove or pizza oven, split to double split dimensions from the start.
Step 2: Stack Right
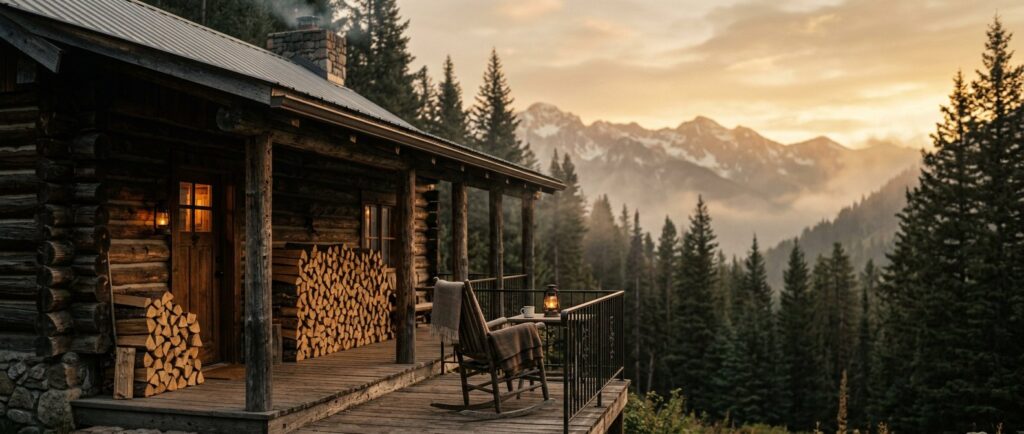
The golden rules from our storage guide apply double for seasoning: off the ground, covered on top only, open sides to the breeze, ideally in sun. A pallet base, a tarp angled like a roof, and the prevailing wind blowing through the stack. Tight rows in a dank corner will still read 30% next year.
Step 3: Know Your Timelines
- Dense hardwoods (ironbark, box): 12–18 months — slow but worth it (why ironbark rewards patience)
- Medium hardwoods (red gum and similar): 9–12 months
- Softwoods: 6–9 months — quick, but see why we don’t recommend them for heating
Step 4: Test Before You Burn
Looks deceive; meters don’t. Split a test log and probe the fresh face: under 20% = ready. The full field-test kit — cracks, bark, knock, weight — is in how to tell if firewood is seasoned.
The Honest Shortcut
DIY seasoning trades a year of planning for a lower per-log price — and it only pays if you start early enough. If winter is coming and the stack isn’t ready, don’t burn green wood; order a load that’s already below 20% and season your own in parallel for next year. Our mixed hardwood and ironbark loads arrive ready to burn, and buying early is its own strategy: the summer case. More in the guides.